

Summarize this article with:
Kirkland Signature bacon from Costco comes in bulk packages that feed a crowd. The thick cut variety and the regular sliced version both deliver hickory smoked flavor at a fraction of what you would pay elsewhere.
Most people grab this bacon for weekend breakfast prep or batch cooking sessions. A single package can handle multiple meals when stored properly.
This guide covers four cooking methods with exact temperatures, times, and step-by-step instructions. Total cooking time ranges from 4 minutes (microwave) to 20 minutes (oven), depending on your equipment and how crispy you want those strips.
Product Details

Product: Kirkland Signature Thick Sliced Bacon
Type: Raw, cured pork belly (requires cooking)
Package Size: 3 lbs total (2 x 1.5 lb packages)
Price: $12.99 at Costco (Updated December 2024)
Storage: Refrigerate at 40F or below
Calories per Serving: 70 calories per slice (thick cut)
Main Ingredients: Pork, water, salt, brown sugar, sodium phosphate, sodium erythorbate, sodium nitrite
Item Number: 905061
Cooking Methods Comparison
| Method | Time | Equipment | Result | Best For |
| Oven | 18–20 min | Sheet pan, parchment | Evenly crispy | Batch cooking |
| Air Fryer | 10–12 min | Air fryer basket | Extra crispy | Small portions |
| Stovetop | 12–16 min | Cast iron skillet | Classic crisp | Saving bacon grease |
| Microwave | 4–6 min | Paper towels, plate | Soft to crispy | Quick single servings |
Recommended Method: Oven baking for hands-off cooking and consistent results across all bacon strips.
Method 1: Oven (Recommended)
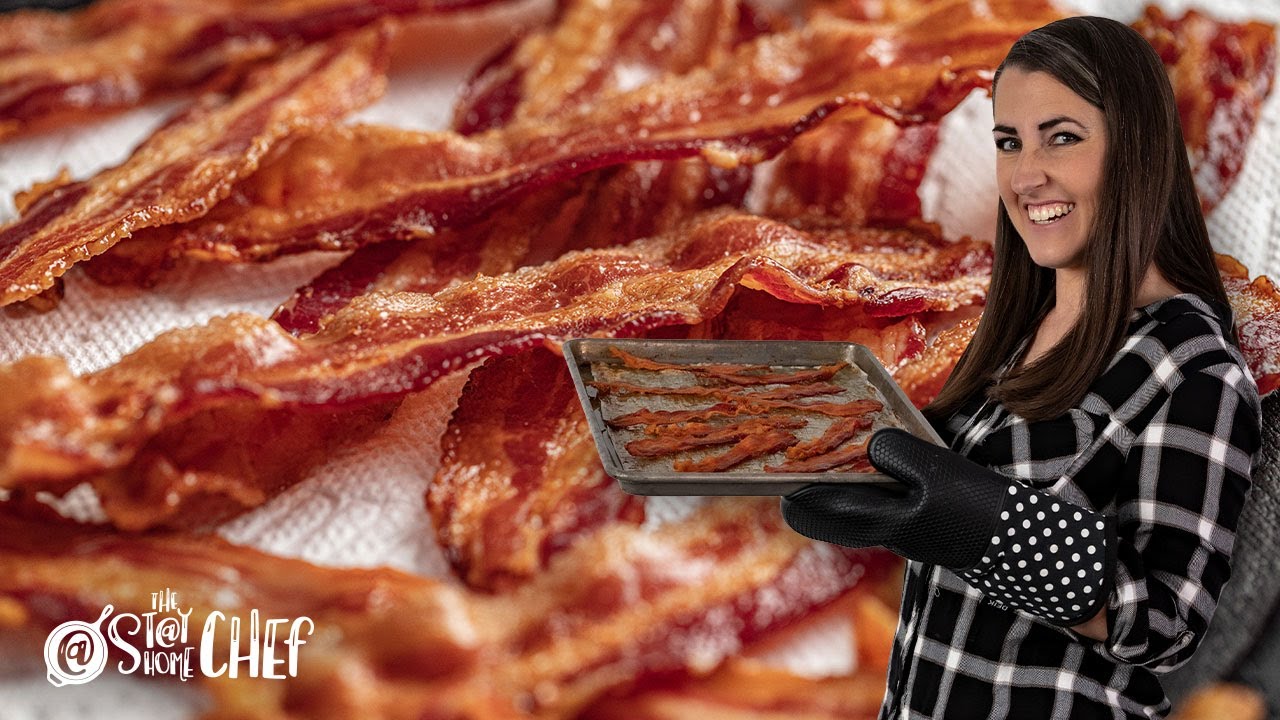
Bake at 400F for 18-20 minutes. This method handles the entire package at once without flipping. The bacon cooks evenly because heat surrounds each strip from all directions.
Step 1: How Do You Prepare the Bacon?
Line a rimmed baking sheet with parchment paper or aluminum foil. The foil makes cleanup easier since bacon grease pools at the bottom during cooking.
Instructions:
- Pull bacon from refrigerator and separate strips
- Arrange strips in a single layer on the lined sheet pan
- Strips can touch but should not overlap
Equipment: Rimmed baking sheet (15×10 inch), parchment paper or aluminum foil, tongs
Step 2: What Temperature and Time Do You Use?
Set your oven to 400F and cook for 18-20 minutes. Some people start with a cold oven (bacon goes in before preheating), which adds about 5 minutes but reduces splatter.
Instructions:
- Preheat oven to 400F (or start cold for less splatter)
- Place sheet pan in center rack position
- Set timer for 18 minutes (thick cut) or 14 minutes (regular sliced)
Temperature: 400F
Time: 18-20 minutes for thick cut bacon, 14-16 minutes for regular sliced
Step 3: When Do You Check the Bacon?
Check at the 15-minute mark for thick cut. The edges should show color by now, with rendered fat pooling on the sheet pan.
Instructions:
- Open oven door briefly at 15 minutes
- Look for golden brown edges and bubbling fat
- Continue cooking if bacon looks pale or limp
Checkpoint: At 15-minute mark
Step 4: How Do You Know When It’s Done?
Golden brown color with wavy, slightly curled edges. The fat should look rendered (not white or translucent). Bacon continues crisping for about 30 seconds after leaving the oven.
Instructions:
- Remove when bacon is slightly less done than preferred
- Transfer strips to paper towels using tongs
- Let rest 1-2 minutes before serving
Visual Indicator: Deep golden brown with crispy edges and no translucent fat
Method 2: Air Fryer
Air fry at 350-400F for 10-12 minutes. The circulating hot air renders fat quickly and produces extra crispy bacon strips. Works best for 4-5 slices at a time.
Step 1: How Do You Prepare the Bacon?
Arrange bacon in a single layer in the air fryer basket. Cutting strips in half might be necessary depending on your basket size.
Instructions:
- Place 4-5 strips in basket without overlapping
- Cut strips in half if they do not fit
Equipment: Air fryer, tongs, paper towels
Step 2: What Temperature and Time Do You Use?
Cook at 350F for 10-12 minutes. Higher temperatures (400F) cook faster but may cause smoking from the bacon drippings.
Instructions:
- Set air fryer to 350F (no preheating needed)
- Cook thick cut bacon for 10-12 minutes
- Cook regular sliced bacon for 8-10 minutes
Temperature: 350F (reduces smoking)
Time: 10-12 minutes for thick cut, 8-10 minutes for regular
Step 3: When Do You Flip or Rearrange?
Check halfway through cooking. Rearrange strips if some look more done than others. No flipping required, but you can flip once for more even cooking.
Instructions:
- Open basket at 5-minute mark
- Move pieces around if needed
- Optional: flip strips for even crispiness
Checkpoint: At 5-6 minute mark
Step 4: How Do You Know When It’s Done?
Bacon should be deep brown with visibly rendered fat. Air fryer bacon often has wavy, extra crispy edges.
Instructions:
- Look for uniformly golden brown color
- Transfer to paper towel lined plate
- Pour out bacon grease from basket before cooking next batch
Visual Indicator: Crispy edges, no soft or rubbery spots
Method 3: Stovetop (Cast Iron Skillet)

Cook over medium-low heat for 12-16 minutes in a cast iron skillet. This method lets you save the bacon drippings for other recipes. The bacon cooks in its own rendered fat.
Step 1: How Do You Prepare the Bacon?
Start with a cold pan. Lay bacon strips flat without overlapping. The strips will shrink significantly as fat renders out.
Instructions:
- Place 4-5 strips in cold cast iron skillet
- Strips can touch but should not stack
- Bring bacon to room temperature for 15 minutes before cooking (optional)
Equipment: Cast iron skillet (12 inch), tongs, paper towels, splatter screen (optional)
Step 2: What Temperature and Time Do You Use?
Medium-low heat produces the best results. The bacon heats gradually with the pan, rendering fat slowly and evenly.
Instructions:
- Turn burner to medium-low
- Let pan and bacon heat together
- Wait for sizzling to begin (1-2 minutes)
Temperature: Medium-low (setting 4-5 out of 10)
Time: 12-16 minutes total
Step 3: When Do You Flip?
Flip every 2-3 minutes for even cooking. The first flip happens after edges show color and a layer of bacon grease appears in the pan.
Instructions:
- First flip at 3-4 minutes when edges turn golden
- Continue flipping every 2 minutes
- Move strips around to prevent hot spots
Checkpoint: Every 2-3 minutes after initial sizzle
Step 4: How Do You Know When It’s Done?
Bacon should be uniformly colored with visible fat rendering. Remove strips immediately when done because the hot pan continues cooking any remaining bacon.
Instructions:
- Transfer to paper towels when golden brown
- Do not leave bacon in hot pan after removing from heat
- Save bacon grease in heat-safe container
Visual Indicator: Golden brown throughout, fat fully rendered, edges slightly crisp
Method 4: Microwave
Microwave for 1 minute per slice on high power. Fastest method for single servings, but uses paper towels to absorb grease. Bacon will not be as crispy as other methods.
Step 1: How Do You Prepare the Bacon?
Layer paper towels on a microwave-safe plate. The towels absorb rendered fat and prevent splatter.
Instructions:
- Place 3-4 paper towels on microwave-safe plate
- Arrange 4 bacon strips in single layer
- Cover with 2 more paper towels
Equipment: Microwave-safe plate, paper towels (5-6 sheets)
Step 2: What Time and Power Level Do You Use?
Cook on high power. Start with 4 minutes for 4 strips, then add time in 30-second intervals.
Instructions:
- Set microwave to high (100% power)
- Cook 4 strips for 4 minutes initially
- Add 30 seconds at a time until desired crispness
Time: 4-6 minutes for 4 strips (approximately 1 minute per slice)
Step 3: When Do You Check?
Check at the halfway point. Microwave wattage varies significantly, so monitoring prevents burning.
Instructions:
- Pause at 2-minute mark
- Check bacon color and texture
- Continue in 30-second intervals
Checkpoint: At 2-minute mark, then every 30 seconds
Step 4: How Do You Know When It’s Done?
Bacon continues crisping after removing from microwave. Pull it when slightly underdone.
Instructions:
- Remove when bacon looks almost done
- Transfer to clean plate (bacon sticks to paper towels if left too long)
- Let rest 30 seconds before serving
Visual Indicator: Brown color, reduced size, fat rendered into paper towels
Safety and Quality Indicators
Food Safety:
- Internal Temperature: 145-148F minimum (difficult to measure on thin slices)
- Visual Safety Check: No translucent or raw-looking fat remaining
- Thawing: Thaw in refrigerator overnight, or cook from frozen (add 50% more time)
Quality Indicators (Done Properly):
- Color: Deep golden brown, not pale pink or blackened
- Texture: Crispy edges with slightly chewy center (thick cut) or uniformly crispy (regular)
- Appearance: Wavy, slightly curled strips with visible fat rendering
Signs of Overcooking:
- Black or charred spots
- Brittle texture that crumbles when touched
- Bitter or burnt smell
Serving Suggestions
Portion Size: 2-3 strips per serving (approximately 14-16 strips per 1 lb package)
Serving Ideas:
- Classic breakfast alongside scrambled eggs and toast
- BLT sandwiches with fresh tomatoes and lettuce
- Crumbled over salads or baked potatoes
- Wrapped around asparagus or dates for appetizers
Pairing Recommendations:
- If you are making a complete breakfast spread, try preparing Costco breakfast sandwiches or Costco eggs to go with your bacon
- For a brunch setup, add Costco Belgian waffles or fresh croissants
- Complete the meal with Costco potatoes or hash browns
Storage and Reheating
Leftover Storage:
- Refrigerate within 2 hours of cooking
- Store in airtight container or resealable bag
- Consume within 4-5 days
- Freeze for up to 3 months
Reheating Instructions:
- Microwave: 10-15 seconds per strip on paper towel
- Oven: 350F for 5 minutes on foil-lined sheet
- Air Fryer: 350F for 2-3 minutes
- Target Temperature: 165F for reheated leftovers
Bacon Grease Storage:
- Strain through fine mesh sieve while warm
- Store in glass jar in refrigerator
- Use within 3 months
- Great for cooking eggs, seasoning cast iron, or adding flavor to vegetables
Troubleshooting Common Issues
Issue: Bacon curls up during cooking
Cause: Uneven fat distribution causes strips to contract at different rates
Solution: Press flat with spatula during first 2 minutes. Use a bacon press in the skillet. Oven method on a wire rack reduces curling.
Issue: Bacon is chewy or undercooked
Cause: Fat not fully rendered, cooking time too short
Solution: Add 2-3 minutes to cooking time. Increase temperature by 25F. Look for no translucent fat before removing.
Issue: Bacon burns or gets too crispy
Cause: Temperature too high, forgot to check during cooking
Solution: Lower oven to 375F. Use medium-low instead of medium heat on stovetop. Set timer reminders to check progress.
Issue: Air fryer produces smoke
Cause: Bacon grease dripping onto heating element, temperature too high
Solution: Reduce temperature to 350F. Pour out grease between batches. Add a small amount of water to the air fryer drawer to catch drippings.
Issue: Bacon sticks to pan
Cause: Started with hot pan instead of cold, not enough fat rendered yet
Solution: Always start with cold pan and cold bacon. Wait until fat renders (1-2 minutes) before attempting to move strips.
Product Variations and Related Items
Similar Costco Bacon Products:
- Kirkland Signature Premium Sliced Bacon (4 x 1 lb) – Thinner cut, cooks faster, $19.99
- Kirkland Signature Fully Cooked Bacon – Pre-cooked strips, microwave 6 seconds per piece
- Kirkland Signature Lower Sodium Sliced Bacon – Reduced salt content, same cooking method
Cooking Time Adjustments:
- Regular sliced bacon: Reduce time by 4-5 minutes compared to thick cut
- Fully cooked bacon: Heat only, 6 seconds per strip in microwave or 5 minutes at 400F in oven
Related Costco Breakfast Items:
- For additional breakfast proteins, check out instructions on preparing Costco breakfast sausage or Costco ham
- If you prefer turkey products, you might be interested in Costco turkey bacon which uses similar cooking methods
Which Method Should You Choose?
Choose Oven when:
- Cooking for more than 4 people
- You want hands-off cooking
- You need consistent results across all strips
- You are preparing other breakfast items simultaneously
Choose Air Fryer when:
- Making 4-5 strips at a time
- You want extra crispy texture
- Kitchen ventilation is limited (less smell)
- You are short on time (fastest after microwave)
Choose Stovetop when:
- You want to save bacon grease
- You prefer more control over crispness
- Cooking alongside eggs in the same pan
- No oven or air fryer available
Choose Microwave when:
- Making 1-4 strips only
- Speed matters most
- Minimal cleanup is priority
- Crispness is less important
Time Comparison: Microwave (4-6 min) < Air Fryer (10-12 min) < Stovetop (12-16 min) < Oven (18-20 min)
Texture Ranking: Air Fryer (crispiest) > Oven (even crisp) > Stovetop (classic crisp) > Microwave (softest)
FAQ on How To Cook Costco Bacon
What is the best way to cook Kirkland Signature bacon?
Oven baking at 400F produces the most consistent results. Lay bacon strips on a parchment-lined sheet pan and cook for 18-20 minutes.
No flipping required. The heat surrounds each strip evenly, rendering fat without constant monitoring.
How long do you cook Costco thick cut bacon in the oven?
Thick cut bacon needs 18-20 minutes at 400F. Regular sliced bacon takes 14-16 minutes.
Start checking at 15 minutes. Look for golden brown edges and fully rendered fat before removing from the oven.
Can you cook Costco bacon in an air fryer?
Yes. Set your air fryer to 350F and cook for 10-12 minutes. This method produces extra crispy bacon with wavy edges.
Work in batches of 4-5 strips. Pour out bacon grease between batches to prevent smoking.
What temperature should bacon reach when fully cooked?
The USDA recommends cooking bacon to 145-148F internal temperature. Measuring thin strips is difficult, so rely on visual cues instead.
Properly cooked bacon shows no translucent fat and has a deep golden brown color throughout.
How do you keep bacon from curling in the pan?
Start with a cold cast iron skillet and cold bacon. Press strips flat with a spatula during the first 2 minutes of cooking.
A bacon press works well. Oven baking on a wire rack also reduces curling significantly.
Should you save bacon grease from Costco bacon?
Absolutely. Strain warm bacon drippings through a fine mesh sieve into a glass jar. Store in the refrigerator for up to 3 months.
Use rendered fat for cooking eggs, seasoning cast iron, or adding smoky flavor to vegetables.
Can you cook Costco bacon from frozen?
Yes. Add approximately 50% more cooking time when starting from frozen. The bacon thaws quickly as it heats.
Separate strips as soon as possible during cooking. Oven method works best for frozen bacon strips.
How do you microwave Kirkland bacon without making a mess?
Layer 3-4 paper towels on a microwave-safe plate. Arrange 4 bacon strips in a single layer and cover with 2 more towels.
Cook on high for 4-6 minutes. The towels absorb bacon grease and prevent splatter inside the microwave.
How long does cooked bacon last in the refrigerator?
Properly stored cooked bacon lasts 4-5 days in the refrigerator. Use an airtight container or resealable bag.
Freeze for up to 3 months. Reheat in the microwave for 10-15 seconds per strip until hot.
Why does my air fryer smoke when cooking bacon?
Bacon grease dripping onto the heating element causes smoke. The fix is simple.
Lower temperature to 350F instead of 400F. Add a tablespoon of water to the drawer beneath the basket to catch drippings.
Conclusion
Now you know how to cook Costco bacon using four different methods. Each approach delivers crispy bacon with fully rendered fat and that signature hickory smoke flavor.
The oven method handles batch cooking best. Air fryers produce the crispiest texture. Stovetop gives you control and saves those valuable drippings.
Kirkland Signature bacon offers solid value for meal prep and weekend breakfasts alike. Store leftovers properly and you have a protein-packed addition ready for salads, sandwiches, or breakfast sides throughout the week.


