
Imagine the aroma of a perfectly cooked Costco pizza wafting through your kitchen—it’s an indulgence that transforms any ordinary night into a delightful experience.
With a few tried-and-true techniques, you can turn that frozen Costco pizza into a crispy, cheesy masterpiece that rivals any pizza delivery. Over the years, I’ve honed my skills to ensure every pizza night ends with a slice of perfection on everyone’s plate.
Welcome to the ultimate guide on how to cook Costco pizza. Whether you’re using a pizza stone or simply placing it on a baking sheet, this guide will teach you everything from the optimal preheating tips to achieving the perfect crust and deliciously melted cheese.
You’ll find instructions that detail the right baking temperature, timing, and even how to enhance your pizza with your favorite toppings.
By the end, you’ll not only master the basics but also uncover pro tips for creating that signature Costco pizza crispiness, ensuring your next family dinner is a hit.
How To Cook Costco Pizza: The Quick Version
Here is how to cook Costco pizza:
The Kirkland Signature Frozen Cheese Pizza and Pepperoni Pizza from Costco should be cooked as follows:
Instructions:
- Preheat oven to 425°F (218°C).
- Remove the pizza from all packaging.
- Place the pizza directly on the center oven rack.
- Bake for 12-15 minutes, or until the crust is golden brown and the cheese is melted and bubbly.
- Cook the pizza to an internal temperature of 165°F (74°C).
- Allow the pizza to cool for a few minutes before slicing and serving.
Tips:
- For a crispier crust, bake the pizza directly on the oven rack instead of using a baking sheet.
- You can add your own additional toppings before baking if desired.
- Keep an eye on the pizza towards the end of baking to prevent burning.
- Let the pizza cool for a few minutes before slicing to allow the cheese to set.
How to Cook Costco Pizza: A Comprehensive Guide
Types of Costco Pizza
Frozen Pizza Varieties
Pepperoni
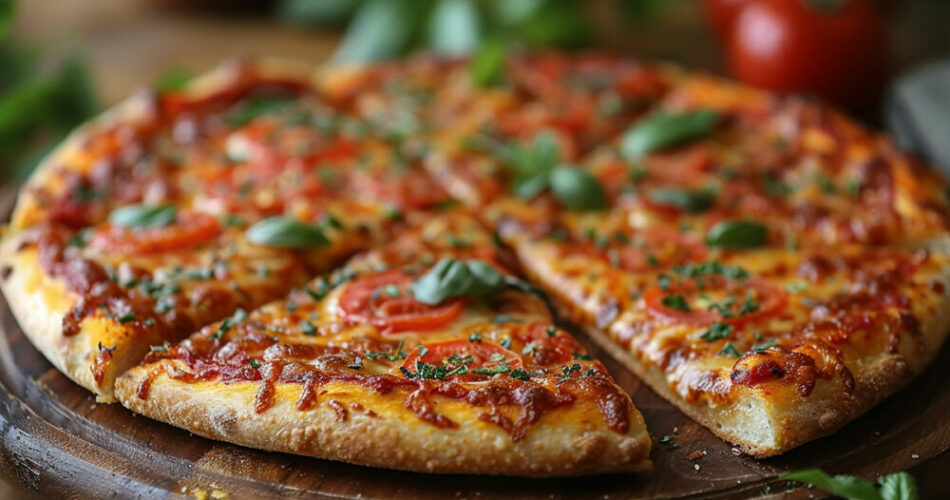
One of the classics in Costco’s array. The pepperoni slices atop that melty mozzarella—it’s a timeless favorite. Toss it in the oven, and you’ve got yourself a piece of nostalgia.
Cheese
For those who appreciate simplicity, the cheese pizza is a blank canvas. Perfect for anyone who loves gooey, melted cheese spread evenly over a crispy crust.
Combo
This one’s a feast for the senses. Sausage, pepperoni, green peppers, onions, and mushrooms merge to create a flavor-packed experience. It’s like having a mini party in every bite.
Take-and-Bake Pizzas
Cooking at home convenience
Take-and-bake options bring the Costco pizza experience straight to your kitchen. Fresh from the store but baked in your oven, they’re a convenient choice for family dinners or impromptu gatherings.
Varieties offered
Costco’s got you covered with options like five-cheese, veggie, and even the classic margherita. Each variety brings its own unique combination of flavors and textures.
Pre-Cooking Preparations
Thawing Frozen Pizza
Importance of proper thawing
Thawing isn’t just a step; it’s essential for even cooking. Improper thawing can leave the center cold and the edges overcooked.
Methods to thaw effectively
- Fridge method: Place the pizza in the refrigerator for a few hours.
- Quick thaw: If you’re in a rush, leave it out on the counter for about an hour.
Preheating the Oven
Ideal temperatures for different types of pizza
For most frozen and take-and-bake pizzas, aim for 425°F. If you’re using a convection oven, you might lower it by 25 degrees.
Ensuring even heat distribution
An evenly heated oven is crucial. Place a pizza stone inside during preheating for the best results.
Preparing Baking Surfaces
Pizza stones vs. baking sheets
- Pizza stones: Excellent for crispy crusts due to even heat distribution.
- Baking sheets: Practical and versatile, though slightly less crispy results.
Using parchment paper or aluminum foil
- Parchment paper: Easy cleanup, non-stick surface.
- Aluminum foil: Shields against burnt edges, useful for thin-crust pizzas.
Cooking Methods
Conventional Oven Cooking
Step-by-step guide for optimal results
- Preheat to 425°F.
- Place pizza on the middle rack.
- Bake for 12-15 minutes.
- Check for golden-brown crust and bubbly cheese.
Adjusting times and temperatures for different ovens
If your pizza’s edges brown too quickly, reduce the temperature slightly. Ovens vary, so keep an eye on it.
Convection Oven Cooking
Advantages of using a convection oven
More even cooking, faster bake times. Convection ensures your pizza cooks uniformly.
Detailed cooking instructions
- Preheat to 400°F.
- Use the middle rack.
- Bake for about 10-12 minutes, checking regularly.
Using a Pizza Stone
Benefits of a pizza stone
Achieves restaurant-quality crispy crust. Great heat retention and distribution.
Proper use and maintenance
Preheat with the oven, never wash with soap, and let it cool before cleaning. Use cornmeal to prevent sticking.
Grill Cooking
Preparing the grill
Preheat to medium-high, around 450°F. Use indirect heat to avoid burning.
Tips for cooking pizza on the grill
- Place pizza directly on the grill grates or on a pre-heated stone.
- Close the lid to maintain heat.
- Rotate for even cooking.
Microwave Cooking (for specific types)
Suitable pizza types for microwaving
Stick to thin or small personal pizzas. Not ideal for larger or thicker crusts.
Ensuring even heating
Use a microwave-safe plate. Heat in 30-second intervals, rotating frequently.
Enhancing the Pizza
Adding Extra Toppings
Recommended additional toppings
- Extra mozzarella
- Fresh basil
- Sliced mushrooms
Balancing flavors and textures
Mix and match crunchy, creamy, savory, and fresh toppings for a balanced bite.
Cheese and Seasoning
Types of cheese to add
- Parmesan for a salty kick
- Ricotta for creaminess
- Provolone for extra melt
Using herbs and spices
Sprinkle oregano, basil, and garlic powder. Don’t forget a dash of crushed red pepper for heat.
Dipping Sauces
Popular dipping sauces
- Marinara
- Garlic butter
- Ranch
Homemade sauce recipes
Whip up a quick garlic butter by melting butter with minced garlic and parsley. Or try a spicy marinara by adding crushed red pepper flakes to a store-bought sauce.
Troubleshooting Common Issues
Uneven Cooking
Causes and solutions
Cold spots in the oven or improper rack placement. Rotate halfway through the baking time.
Tips for achieving uniform doneness
Ensure the pizza is flat, preheat your oven, and use a pizza stone.
Overcooked or Undercooked Pizza
Identifying overcooked or undercooked pizza
Burnt edges or pale, doughy centers are telltale signs.
Adjusting cooking times and temperatures
Lower the temperature and extend the cooking time for a more even bake. Use an oven thermometer for accuracy.
Soggy Crust
Causes of soggy crust
Too many toppings or a low baking temperature.
Techniques to achieve a crispy crust
Preheat your baking surface, use less sauce, and crank up the heat.
Post-Cooking Tips
Proper Slicing Techniques
Tools for slicing pizza
- Pizza cutter
- Kitchen scissors
- Sharp chef’s knife
Ensuring even slices
Allow the pizza to cool slightly before slicing. Use a steady hand and even pressure.
Serving Suggestions
Pairing pizza with side dishes
- Caesar salad
- Garlic knots
- Roasted vegetables
Beverage recommendations
- Ice-cold beer
- Crisp white wine
- Fizzy soda
Storing Leftovers
Best practices for storing leftover pizza
Place slices in an airtight container. Refrigerate within two hours of baking.
Reheating methods for maintaining quality
- Oven: 375°F for 10 minutes
- Skillet: Medium heat for 5 minutes with a lid
Special Considerations
Cooking for Dietary Restrictions
Gluten-free options
Use a gluten-free crust. Several brands offer great alternatives.
Vegetarian and vegan considerations
Opt for veggie toppings or vegan cheese. Lots of plant-based options are available.
Customizing Pizza for Special Occasions
Themed pizzas for events
Heart-shaped for Valentine’s, spooky for Halloween. Let your imagination run wild.
Creative presentation ideas
Arrange toppings to form patterns or messages. Sprinkle fresh herbs for a finishing touch.
FAQ On How To Cook Costco Pizza
How long do you cook Costco pizza?
Typically, Costco’s take-and-bake pizza requires about 12-15 minutes in a preheated oven at 425°F. Place it on a baking sheet or directly on the oven rack for a crispier crust. Keep an eye on the cheese; it should be bubbly and golden brown.
What are the cooking instructions for Costco pizza?
Preheat your oven to 425°F. Remove the pizza from all packaging, including the cardboard base. Place it on a baking sheet or directly on the center baking rack. Bake for 12-15 minutes, or until the crust is golden and the cheese is melted.
Can you cook Costco pizza on a pizza stone?
Yes! Preheat the pizza stone in your oven at 425°F. Transfer the pizza directly onto the stone for the perfect crispiness. Bake for around 12-15 minutes. The stone’s even heat distribution ensures a uniformly cooked crust.
Should I thaw Costco pizza before cooking?
No need to thaw! Costco’s pizza is designed to be cooked from frozen. Thawing may make the crust soggy and affect the final texture. Just preheat your oven and follow the cooking instructions directly.
How do you make Costco pizza crispier?
For an extra crispy crust, place your pizza directly on the lower oven rack. Alternatively, use a pizza stone. Sprinkle a bit of olive oil on the crust before baking. Ensure a preheated oven at 425°F for optimal results.
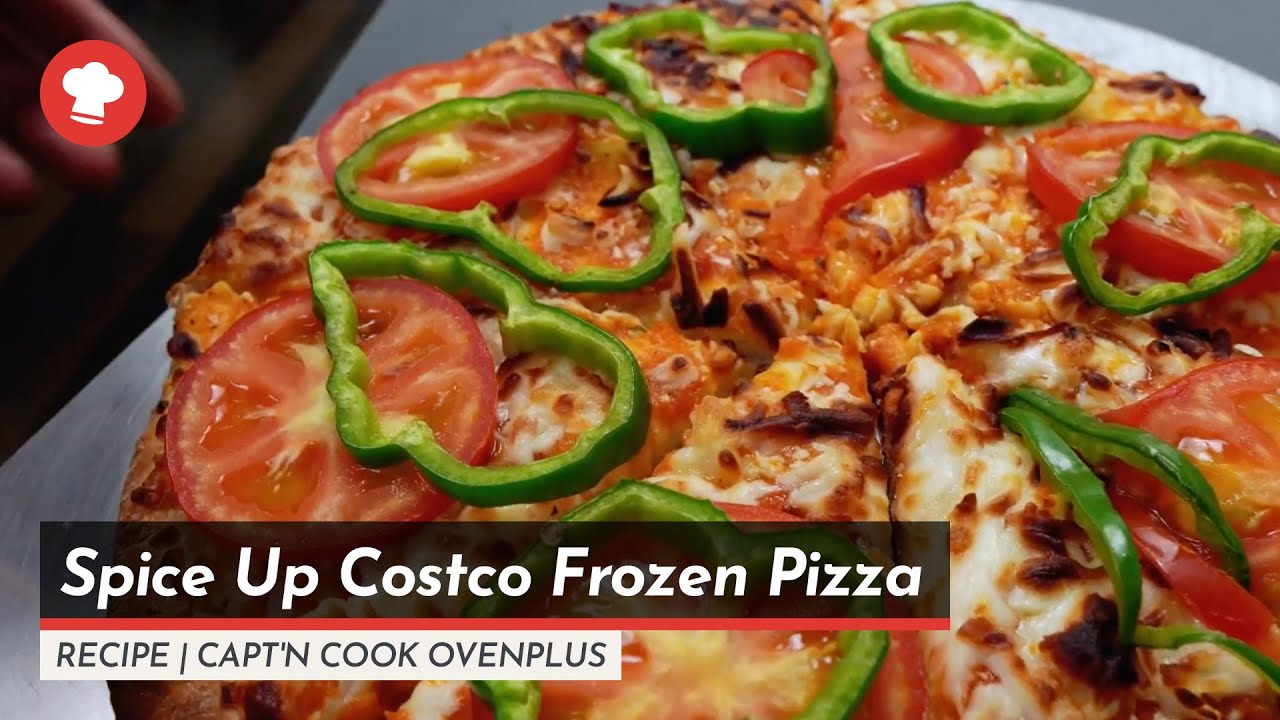
Can you add extra toppings to Costco pizza before cooking?
Absolutely! Feel free to customize with additional toppings like mozzarella, pepperoni, or veggies. Just be mindful that adding too many toppings can alter the cooking time and may need a few additional minutes in the oven.
What temperature do you cook Costco pizza at?
Cook your Costco pizza at 425°F. This temperature is ideal for achieving a well-cooked crust and perfectly melted cheese. Ensure your oven is fully preheated before placing the pizza inside to get the best results.
Can you reheat Costco pizza in the oven?
Yes, you can reheat Costco pizza in the oven for the best texture. Preheat your oven to 375°F, place the slices on a baking sheet, and heat for about 10 minutes. The cheese will melt, and the crust will regain some crispiness.
Is it necessary to use aluminum foil while baking Costco pizza?
It’s optional, but using aluminum foil can make cleanup easier. However, for a crispier crust, place the pizza directly on the oven rack. If you prefer using a baking sheet, foil can help prevent sticking and catch any melting cheese.
How do you know when Costco pizza is done?
The pizza is ready when the cheese is bubbly and the crust is golden brown. Keep an eye out for slight browning around the edges. If the toppings are cooked and the pizza has a uniform golden appearance, it’s done!
Conclusion
Mastering the art of how to cook Costco pizza transforms a simple frozen meal into a culinary delight right in your own kitchen. From setting the perfect baking temperature to choosing the right baking sheet or pizza stone, attention to detail is key. Elevate the experience by experimenting with extra toppings and ensuring your oven rack is in the optimal position for a crispy, golden crust.
Cooking Costco pizza at home offers not only convenience but also the opportunity for creativity. Whether you want to recreate the Costco food court favorite or add your own spin with unique flavors, these straightforward steps will steer you to success.
Incorporate these expert tips, and you’ll enjoy a consistently delicious pizza that brings joy with every bite. Remember, the secret lies in preheating, the right temperature, and keeping an eye on your pizza as it bakes. Savor this journey and let the taste of a perfect Costco pizza be the reward for your culinary efforts.
If you liked this article about how to cook Costco pizza, you should check out this article about how to cook Great Value hash browns.
There are also similar articles discussing how to cook Costco teriyaki chicken, how to cook Costco wontons, how to cook Costco sticky toffee pudding, and how to cook Costco Italian sausage.
And let’s not forget about articles on how to cook Costco turkey bacon, how to cook Costco hot dog, how to cook Costco ribs, and how to cook Costco stuffed peppers.